If you want to refret an instrument yourself, you will probably have to invest in some new tools, since some of the tools needed are fairly specialized. Most of them can be bought on the internet or you can make them yourself, to help keep expenses down.
These are the tools I used for my first three refrets -- the price of the professional fretting tool is put in parentheses, after the name of the tool.
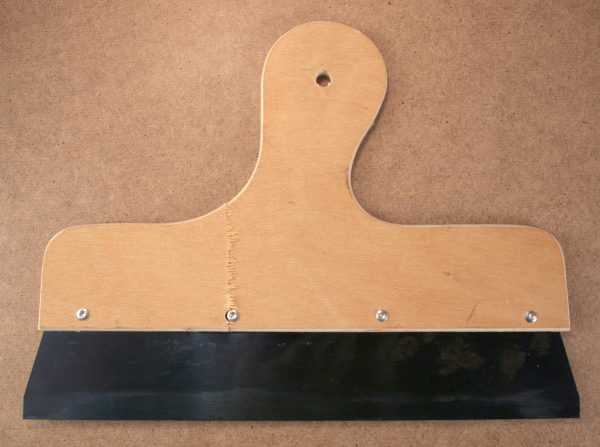
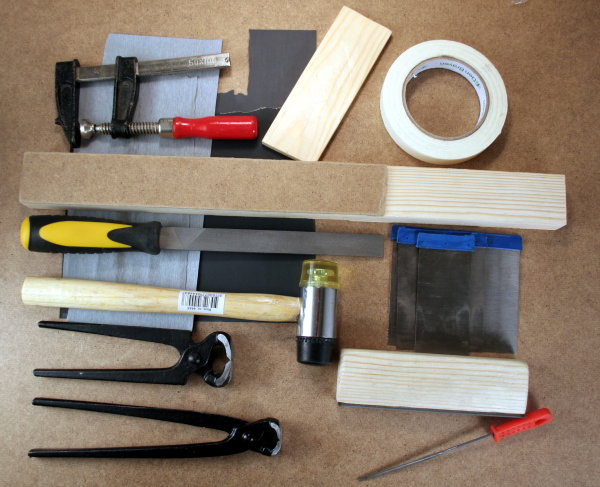
Scraper (straightedge)
In stead of a precision straightedge (€ 27) I use a scraper I had lying around. Granted, it isn't nano-millimeter precise, but it gets the job done.
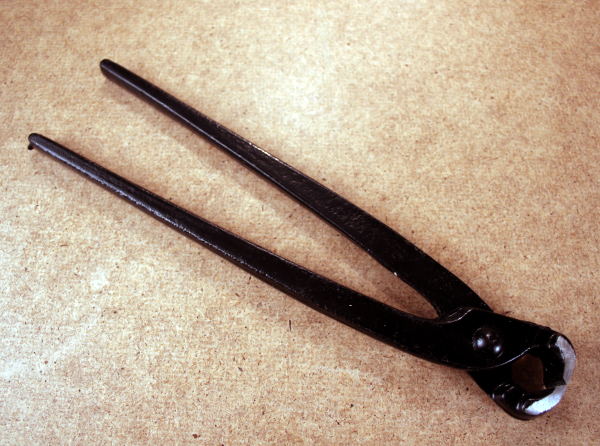
Tower pincers (fret puller)
As I wrote in Refretting a Fender Jazz Bass guitar, DIY next time I am going to refret I am tempted to get hold of a real fret pulling tool (€ 20), or something similar, since the tower pincers are a bit rough on the fretboard. But they only cost € 2... 8o)
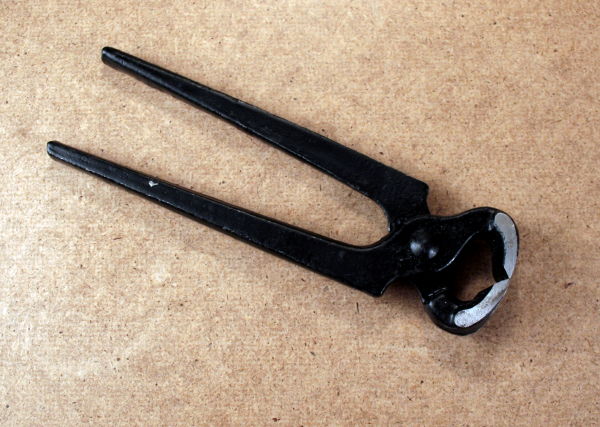
Carpenter's pincers (fret cutter)
A pair of carpenter's pincers which cost me around € 2, in stead of a fret cutter (€ 22). They do an excellent job.
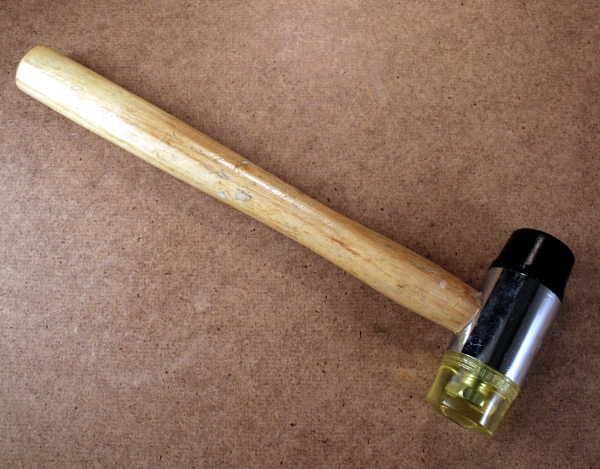
Dual-face plastic hammer
To hammer in the frets with, it doesn't scratch the frets like a metal hammer will.
Standard double cut file
For removing excess fret ends, before using the fret leveling file. Not crucial, but a good way to save the fret leveling file from being worn down too fast.
Fret leveling file
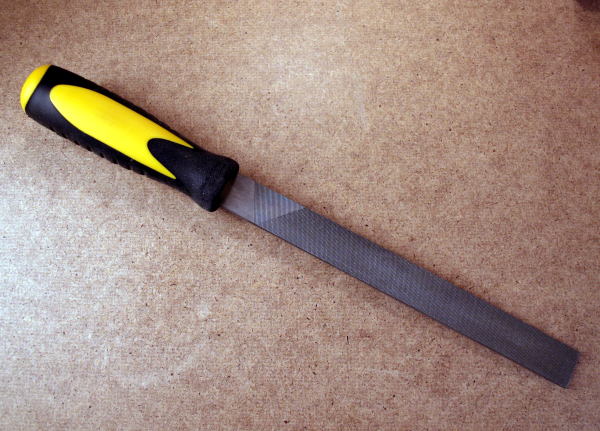
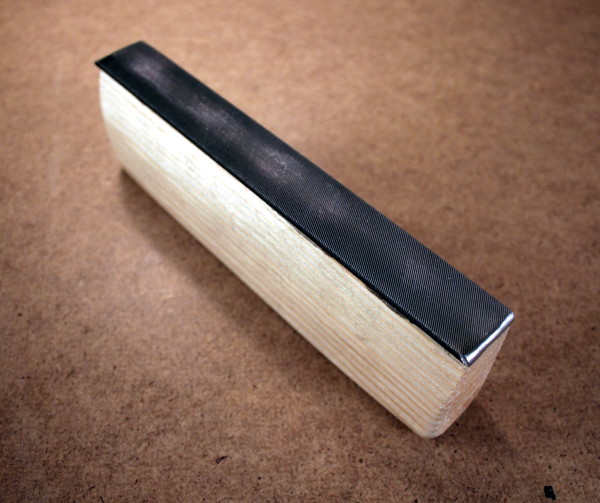
I made my own custom-made fret leveling file with rounded edges (€ 26) by cutting off the handle of an ordinary flat, single-cut, smooth file, grounding off the edges and gluing it to a piece of wood. The length is 16 cm (≈ 6 inches), so that it will touch 4-5 frets when leveling.
Leveling block
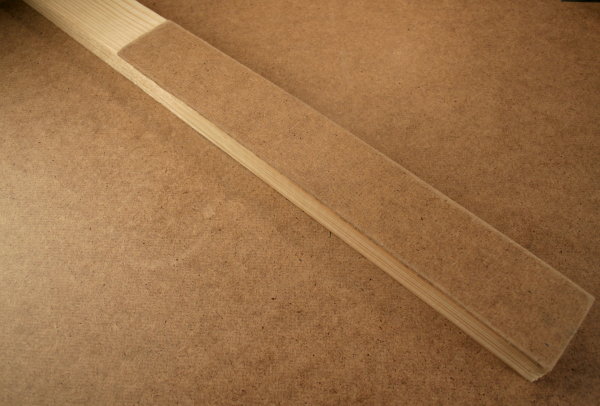
A well functioning leveling block (€ 25) was made by gluing some masonite on a piece of wood. It doubles as isolation when I secure the neck with a clamp, putting it between the clamp and the fret board.
Japan scrapers (fret rocker)
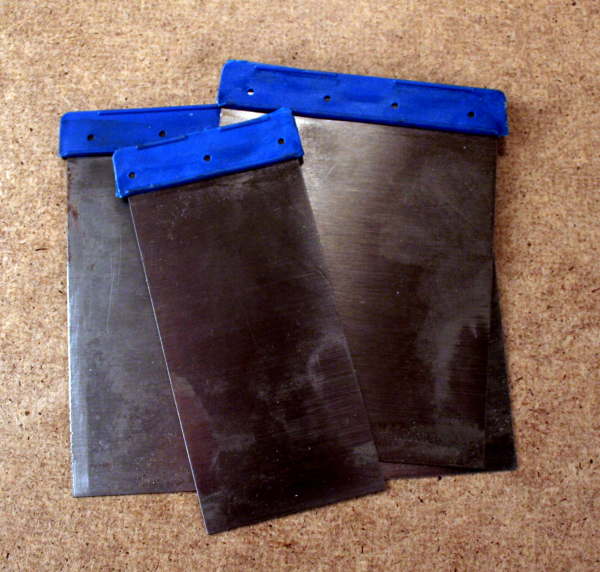
I bought a set of Japan scrapers for € 2, normally used to apply plasters in smaller areas, to replace a fret rocker (€ 17). I also use them as slot-cutting files: I gave the biggest Japan scraper a few “teeth” with a small file and use it to clean the fret slots with.
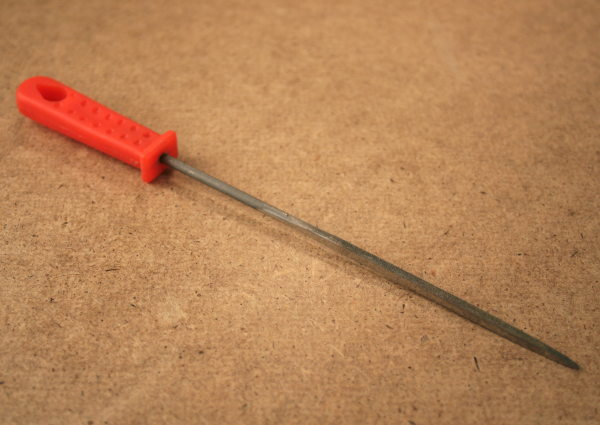
Fret end dressing file
I made a fret end dressing file (€ 10) by grinding one of the sides of a small four-sided file flat, which cost me € 2.
Sandpaper, steel wool, masking tape, instant glue, naphtha, cloth
I put back chips with a little instant glue, like cyanoacrylate. To protect the fret board from scratches I tape it up with masking tape, which comes off fine without any problems. It's probably not a good idea to let it stay on overnight though. To sand the frets, I use sandpaper in grit sizes 320, 600, 1200 and 00000 steel wool to finish off with. I wipe the neck clean with some naphtha on a cloth.
Since I don't have a garage to work in, I made a functional working environment by cutting a piece of masonite board so that it fit on my living room table. I use it to put my tools on and it also prevents metal-dust and dirt from ending up on my table.
All tools
Hi I think looking at your
Hi
I think looking at your page I might have a try at refretting a P-Bass neck I had misguidedly turned into a "fretless."
The fret-leveling file looks hardest to make (especially as I do not have a grinder) because I assume to make it you took an ordinary file (hardened steel) and cut it off square and then ground the edges round?
Why did you round off the ends...is that to protect the neck or something? I assume (as you couldn't possibly bend a file) this is just clamped and glued to a square block of wood?
Thanks
Phil
PMoseley at metrocast.net (please remove spaces. I hate putting my email address out on the web!)
Cut and grind not needed, but makes the file easier to work with
Hi Phil,
You are right, I cut off the handle of a normal file and glued it to a piece of wood.
I ground the edges round mainly to protect the head of the bass, though it is not crucial if you are very careful when working on that part. But it also prevents the file from getting caught by the fret ends when moving back and forth, leveling the frets and just makes it easier to work with.
Good luck, if you decide to go ahead and refret!
Thanks, this is a very
Thanks, this is a very informative article. I'm considering attempting to re-fret a Les Paul, but as I have never attempted anything like that before, I'm a little apprehensive. Given the right tools, and a bit of practice before doing the real one, do you think a job like this is realistic for someone with no experience of doing it? I mean, if someone has all the correct tools, takes their time, and is reasonably proficient at working with their hands - can a total beginner expect to do a reasonable job of it? Thanks, Mark
I recommend practicing
I recommend practicing refretting on a disposable guitar neck before moving on to a good guitar. I was a total beginner, and although a professional guitar builder probably would have done a better job on my good guitar (my refret #2) and my bass (#3), I think the results are pretty good. And it was good fun, if a bit scary sometimes...
Good luck!
Fret leveling file
Hi there...I love your job!!!!....I've got a lot of ideas on how to make some tools...and save as well..
please help me here....about this fret leveling file you have here in the pic...is it possible to know more....the pic does not allow me to understand the size of it....
how and what did you use for this file?
I guess it must be like the expensive stewmac stuff....kust would like to know from where the file surface is coming from...
Many thanks again and regards
Franco
Flat, single-cut, smooth file
Thanks!
I made the fret leveling file by cutting the end off of an ordinary flat, single-cut, smooth file and rounding the edges in both ends, the shiny part you see in the picture.
The file is 16 cm (≈ 6 inches), but the important part is that it will touch 4-5 frets when leveling the frets. I will update the text for the file with this info.
Good luck!